Working on the 3D printed Rubik's cube solving robot

I have been eyeing on the 3D Printed Robot Project that have been abandoned for awhile at the local Hacker Space. As I walked in, I saw this thing just sitting there in the center of the table where I normally sit. I had to get to work.
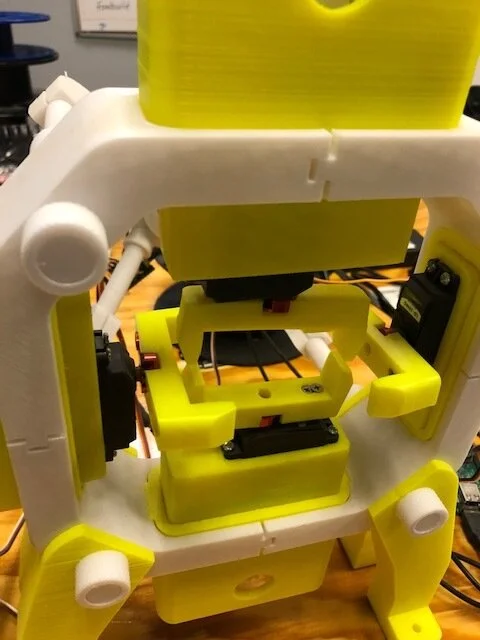
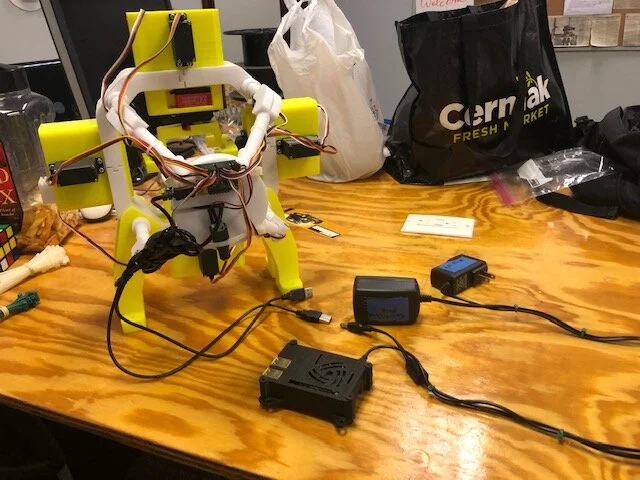
Before I can start digging in deep and deal with the servo calibration, vision/camera adjustment, and OS + programming issues, I had to tidy things up first. After a bit of time spent with the zip ties…
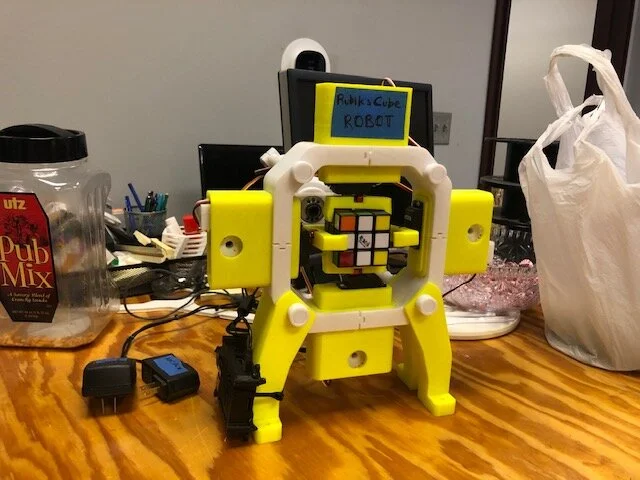
Finally, I got everything tied down and ready for the next step. By the way, this thing runs on a Raspberry Pi 3 (small black box tied down on the left leg). It may be a while before I get back to this project, but following will be the steps.
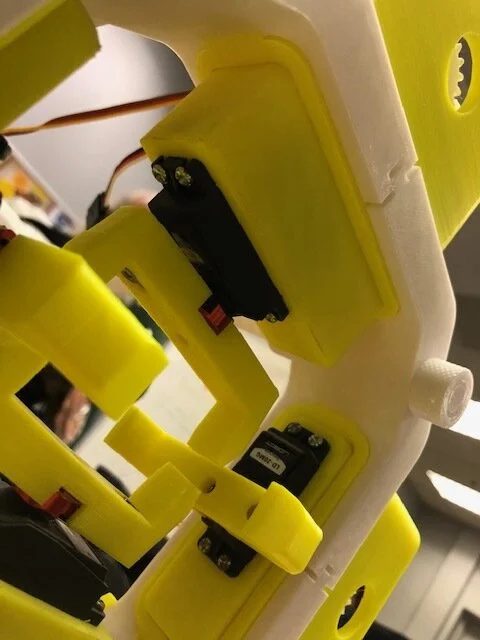
Calibrate the servos (8 servos with 2 groups of 4)
Calibrate the camera - this one is known to have a lighting/color sensitivity issue
Install Windows IoT + Otvinta software configured - the free version that is provided have a limited capability in solving the cube
Test and run - this can be a great demo piece for the Hacker Space
With a working robot in place, we can fork the project and use it to develop an Open Source version based on the ROS (Robot OS).
for more information about this 3D printed robot - www.rcr3d.com/